How I Thrum
Thrummed mittens have been around for a couple of hundred years in Northern Newfoundland and Labrador. The term thrums refers to yarn waste from weaving looms. According to Robin Hansen’s Favorite Mittens (many thanks for the book, Jennifer!), these bits could have at one time been knitted into mittens and other articles for added warmth, but now fleece, roving and, in my case, at least, prepared top are generally favored.
Since people have been knitting these mittens for so long, I really only have one thing to add, other than my hopefully infectious love of these amazingly warm mittens, and that is my opinion that the more thums, the better, and the closer they are to each other, the better. I like a solid, warm, fuzzy blanket inside my mittens, not a sparse, lumpy, sad blanket like some patterns create. Being able to feel the lumps inside is about as annoying to me as a wrinkle in my sock or sock fuzz between my toes. Obviously, I also tend to go a little crazy with the color, which was not how it was done way back when.
Here’s how I thrum:
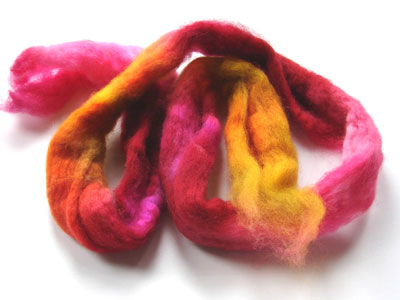
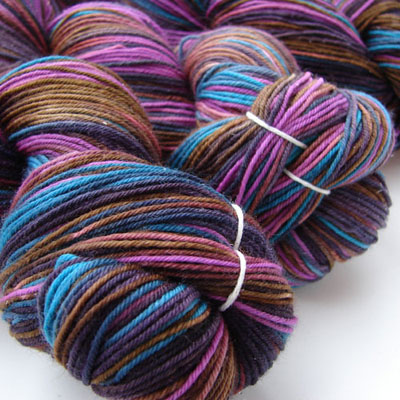
Get your fiber. This is hand-dyed combed top in a soft, fuzzy wool (fine Bluefaced Leicester in this case). You want to use a wool that will stick to itself after you’ve installed it in your mittens. After some wear, the thums will felt together into one soft mass. Merino, Corriedale, fine BFL, or anything that’s soft (a fine to medium fine wool) would be ideal. It will both felt together and please your fingers. I would not recommend superwash wool, as it tends to fall apart. Use top, roving, or locks of wool.* About 2 oz. should do you.
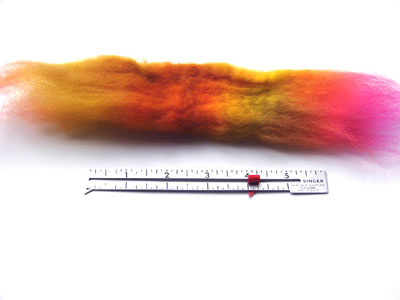
Hold your hands a few inches apart and pull off a piece about 8 inches long.
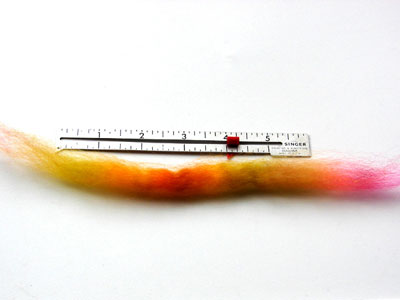
Strip off a thin piece from the side of that chunk.
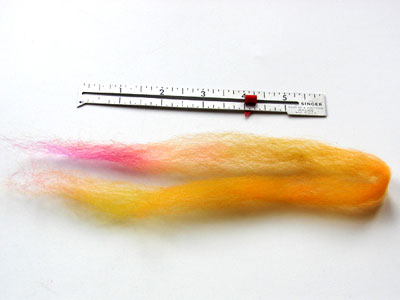
Work your way along this strip, attenuating and teasing the wool apart and fluffing it up. It’s grown in length from the teasing. The more air there is in the wool, the warmer your hands will be.
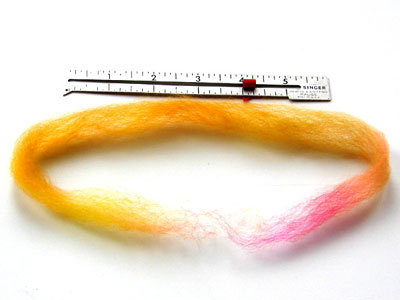
Fold the ends of the thrum to the center and press them in.
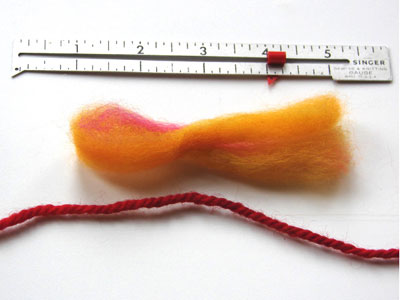
Now, fold the thrum in half, enclosing those pointed ends. This makes everything so tidy. Some patterns call for the thrum to be the same thickness as the yarn. I don’t go for that! No harm has yet been caused by my super fat thrums.
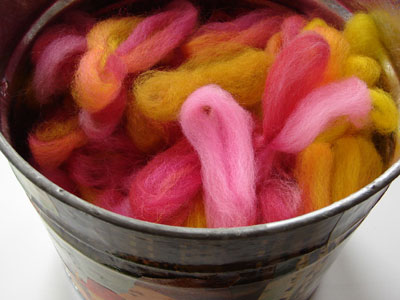
Make a whole bunch.
Now, to knit them in.
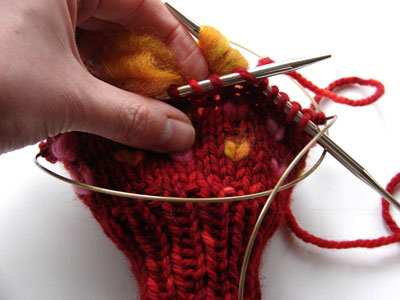
When you get to the spot where you’ll add your thrum, bring your yarn over the needle as usual and put your thrum around the needle, with half above and half below. Pinch it in place with your left hand. Pull both the yarn and thrum through the stitch.
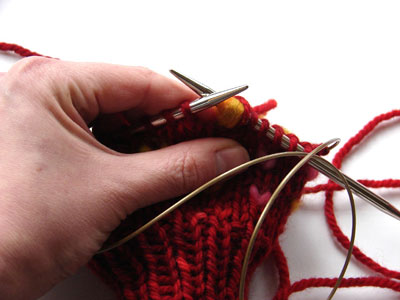
The thrum and yarn stitch are side by side on the needle.
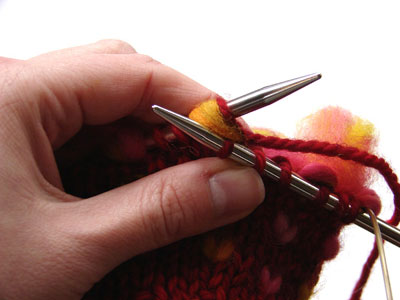
On the next row, when you come to this thrum/yarn stitch combo, knit them as one.
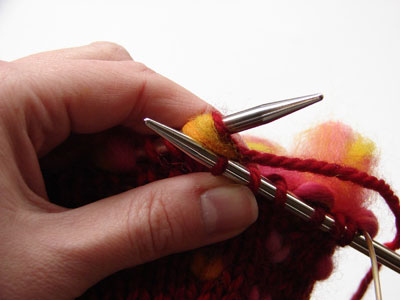
Lovely!
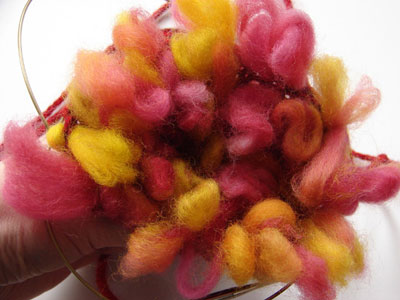
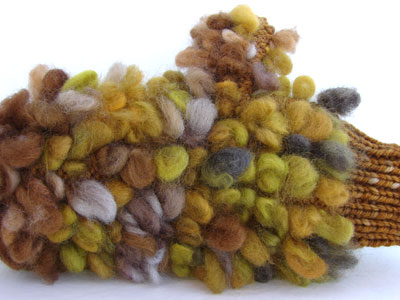
Inside view.
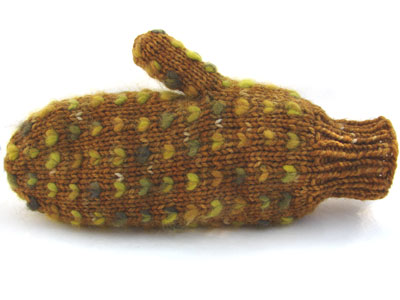
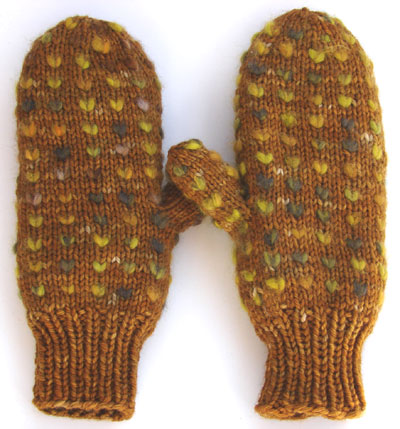
Finished mitten.
Thrums aren’t reserved solely for mittens. You can thrum hats, wrist warmers, and socks, like my lovely friend Susann makes. Imagine!
Here are two popular patterns of thrum placement:


This diagonal pattern would be especially attractive on a pointed-tip mitten. You could line up side decreases with the diagonal line of the thrums.
For yarn, I’d recommend something nicely woolly and worsted weight or thicker. The woolly yarn will latch onto the thrums, and worsted to chunky weight seems to produce an ideal fabric for me. I knit the yarn at a slightly tighter gauge that the ball band calls for. This will help keep the frosty wind out.
If you’re not using a thrum specific pattern, you’ll need to give the pattern some ease, since those thrums take up a lot of room. An inch or two should do you nicely.
Do you live somewhere cold? Make some!
I heartily recommend Robin Hansen’s Favorite Mittens, skimpy though her thrums might be, if you are interested in traditional mitten patterns. I never would have known what a treasure this book is from looking at the cutesy cover.
* To use a lock of wool, you’d fluff it up and attenuate it a bit if it’s short, so that it’s about 3 inches long. Once it’s folded in half and knit in, you’d have a 1″ long thrum sticking out of the back of your thrummed fabric. That would make a lovely warm mitten.
