Posts from the ‘Uncategorized’ category

A Handspun Dog Sweater
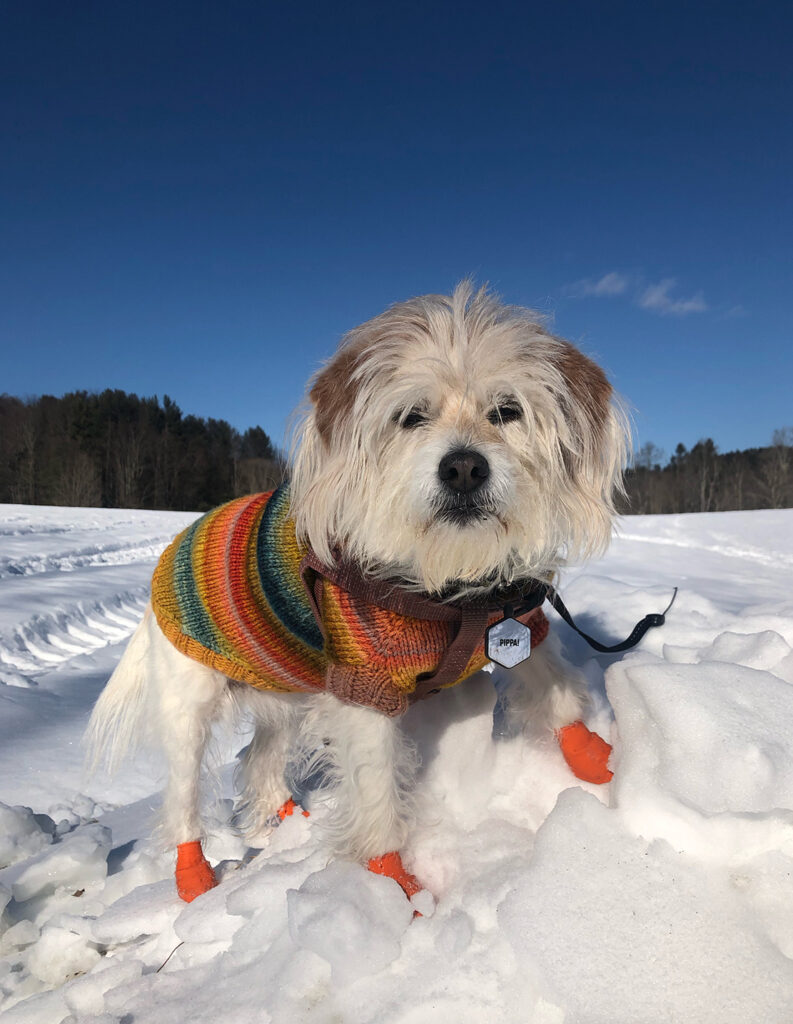
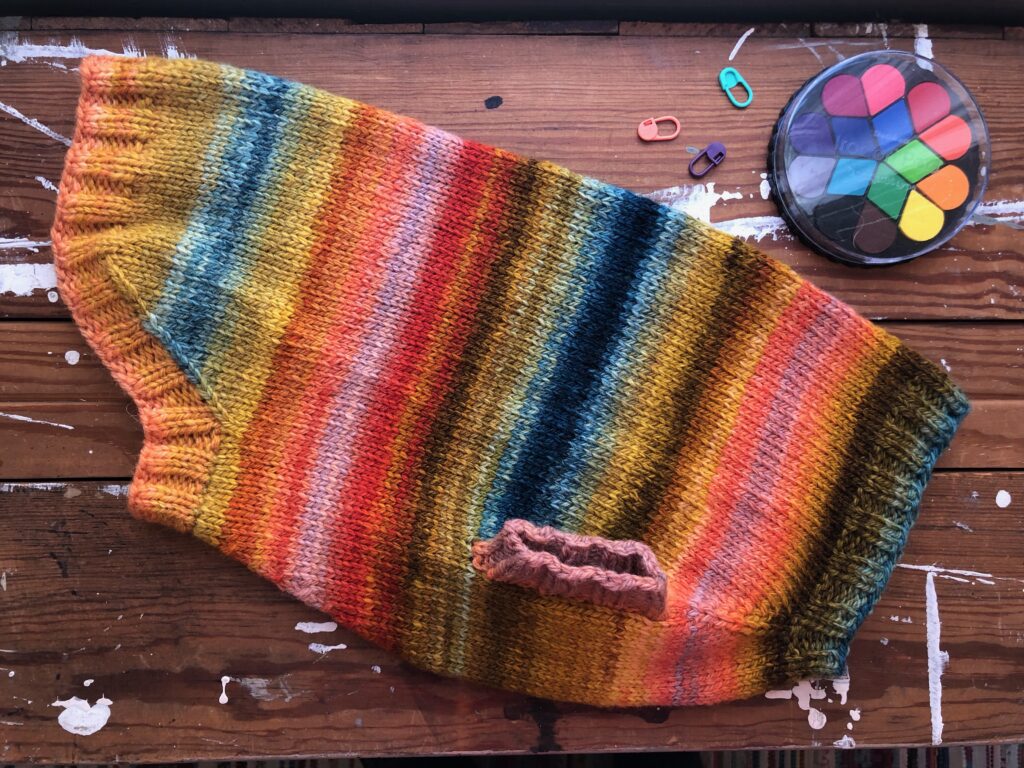
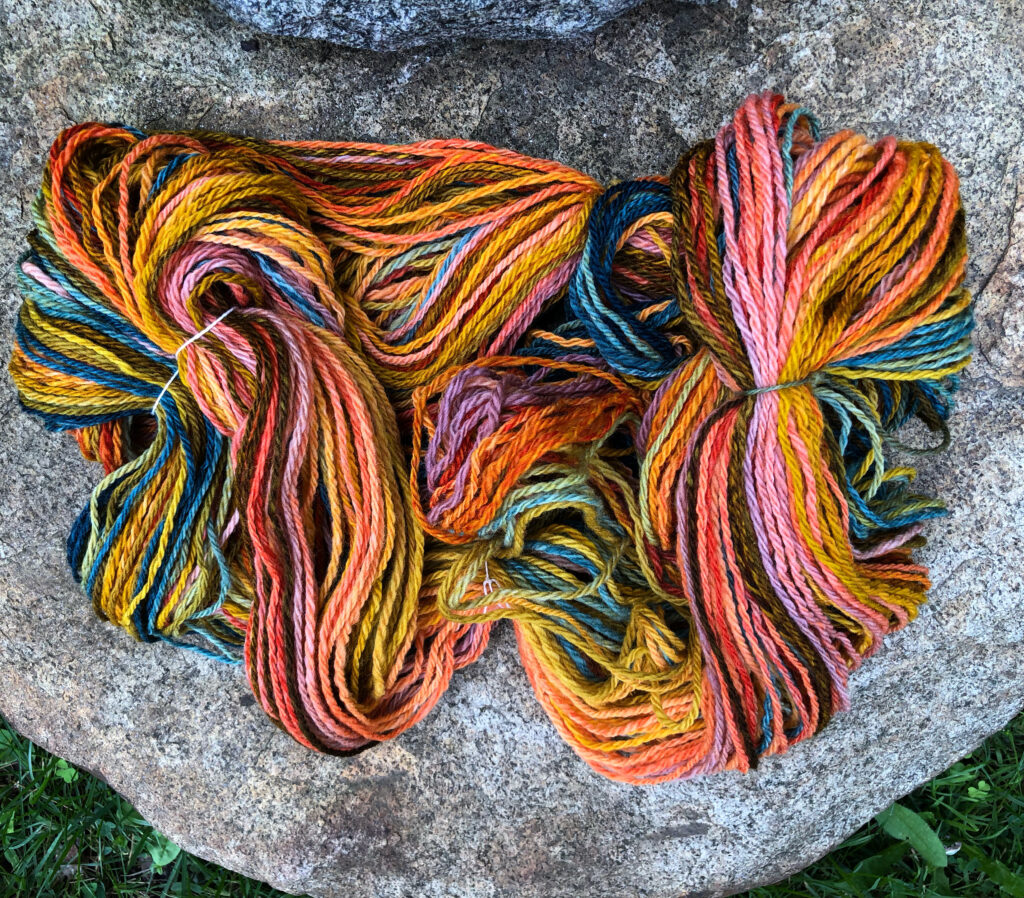
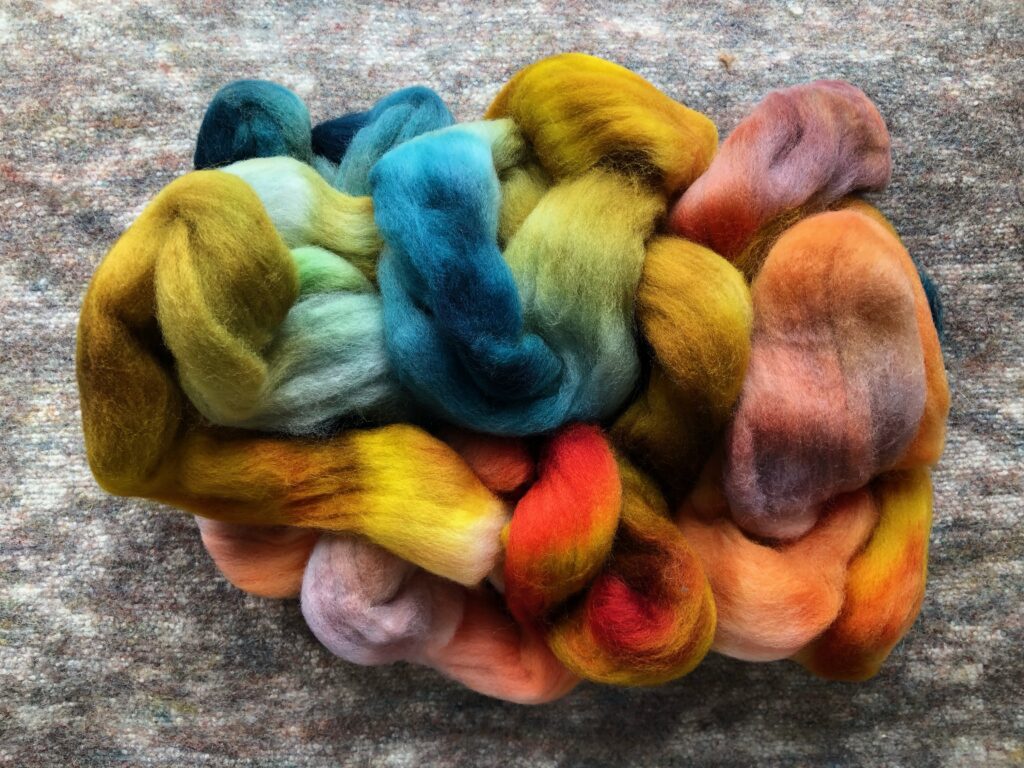
Pippa needed a new sweater and I had just the yarn for her, spun during the 2021 Tour de Fleece. The fiber is “All Bark and No Bite” Corriedale, spun into 8 oz., 352 yards of Aran weight chain ply from the full width of the top for big chunks of color.
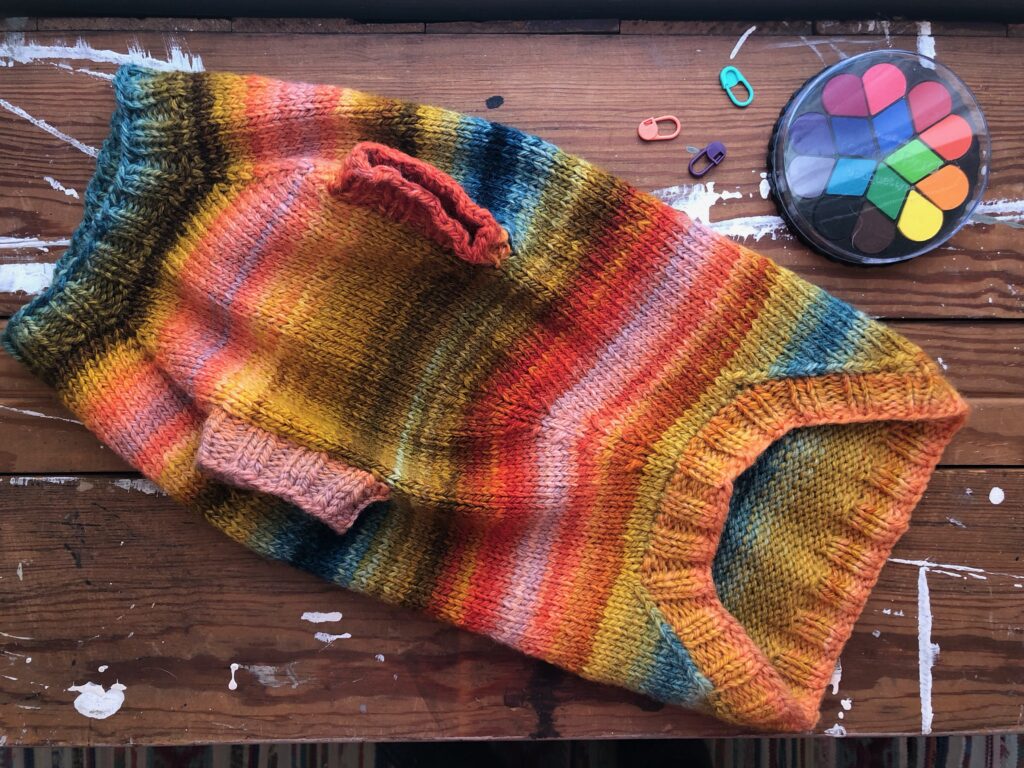
This is some serious Rainbow Brite action. The sweater is one that I devised for her when we first got her 13 years ago. I start with the neck, then do two sets of paired increases to the leg openings. I knit back and forth for the section between her front legs, then switch and knit back and forth across the back. I then join the two sections behind the front leg openings and resume knitting in the round. A single line of paired decreases nips in for the tummy. I put approx. 1/3 of the stitches on a holder to shorten the underside, then decrease until just the back half or so stitches are left, then put on the ribbing all around the opening and around the leg holes. Works great!
The chunky, springy yarn made for a very soft and squishy sweater. She’s toasty warm on those minus degree days, with her sweater and baby carrot shoes.
I don’t have a pattern for your dog, but there are lots out there! There’s a dog sweater generator on Ravelry that looks promising, and a special wiener dog sweater, also Ravelry, too!
3 Comments

How I Knit Cardigan Button Bands Before Cutting a Steek

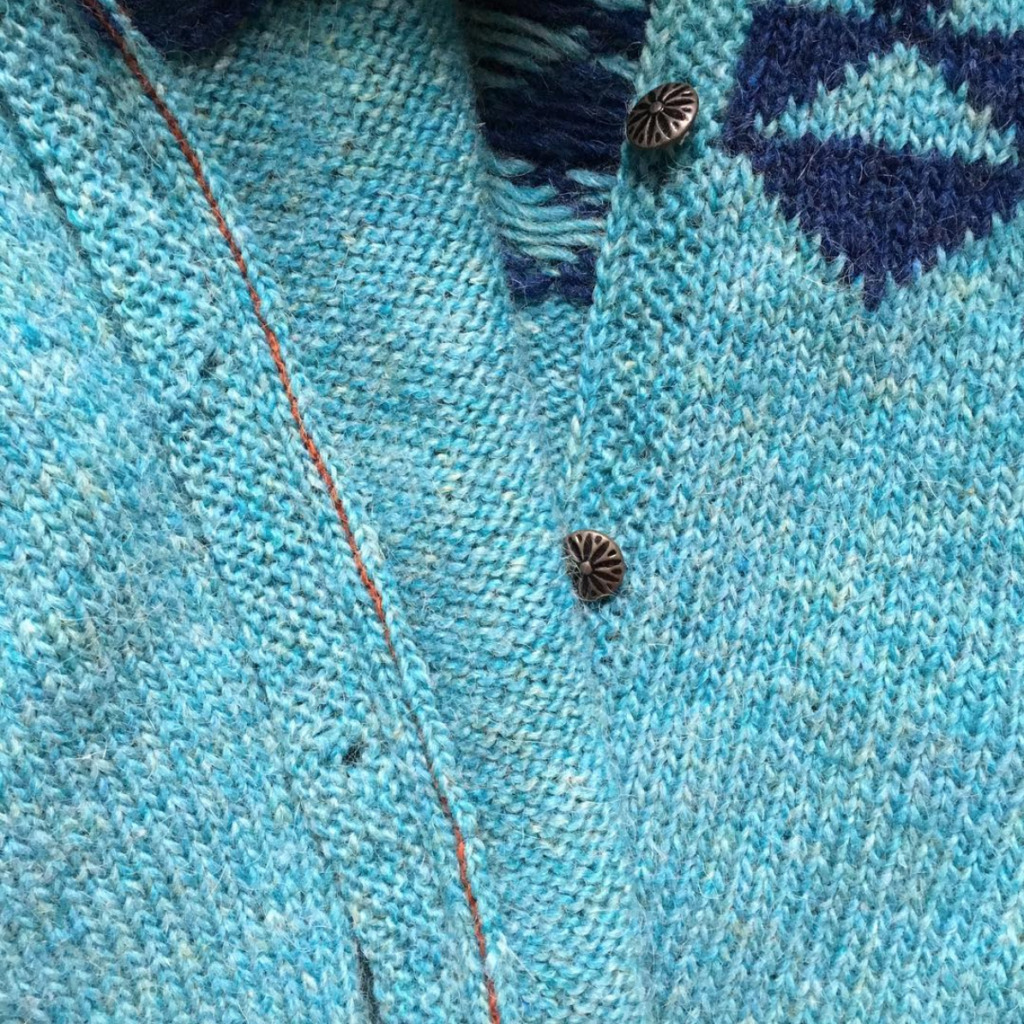
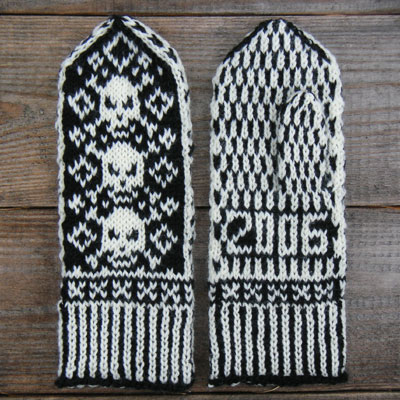
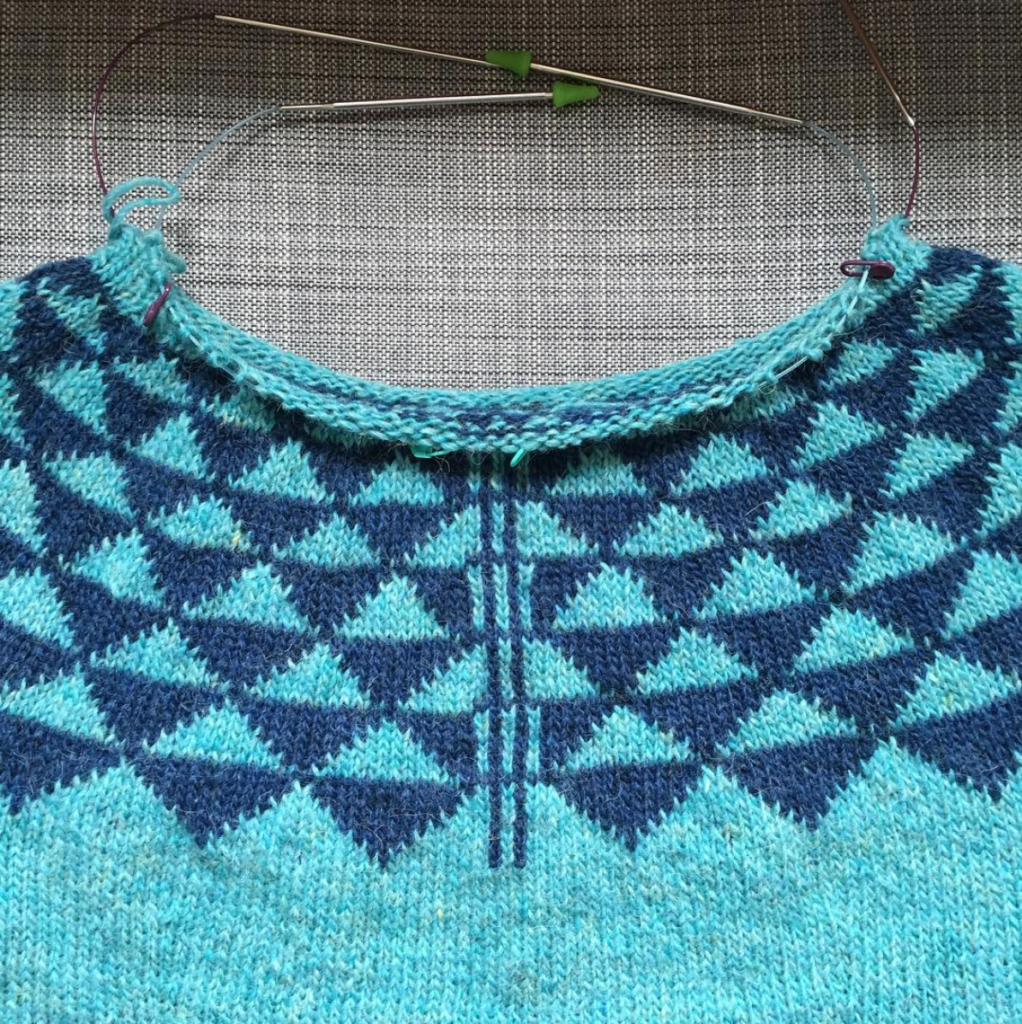
I cut my first steek in 2006, but it wasn’t until 2016 that I realized it would be a good idea to knit the button bands on before cutting the sweater open. It prevents pulling on the cut steek stitches and assures you that you’ve got button bands that won’t deform the front edges of the cardigan.

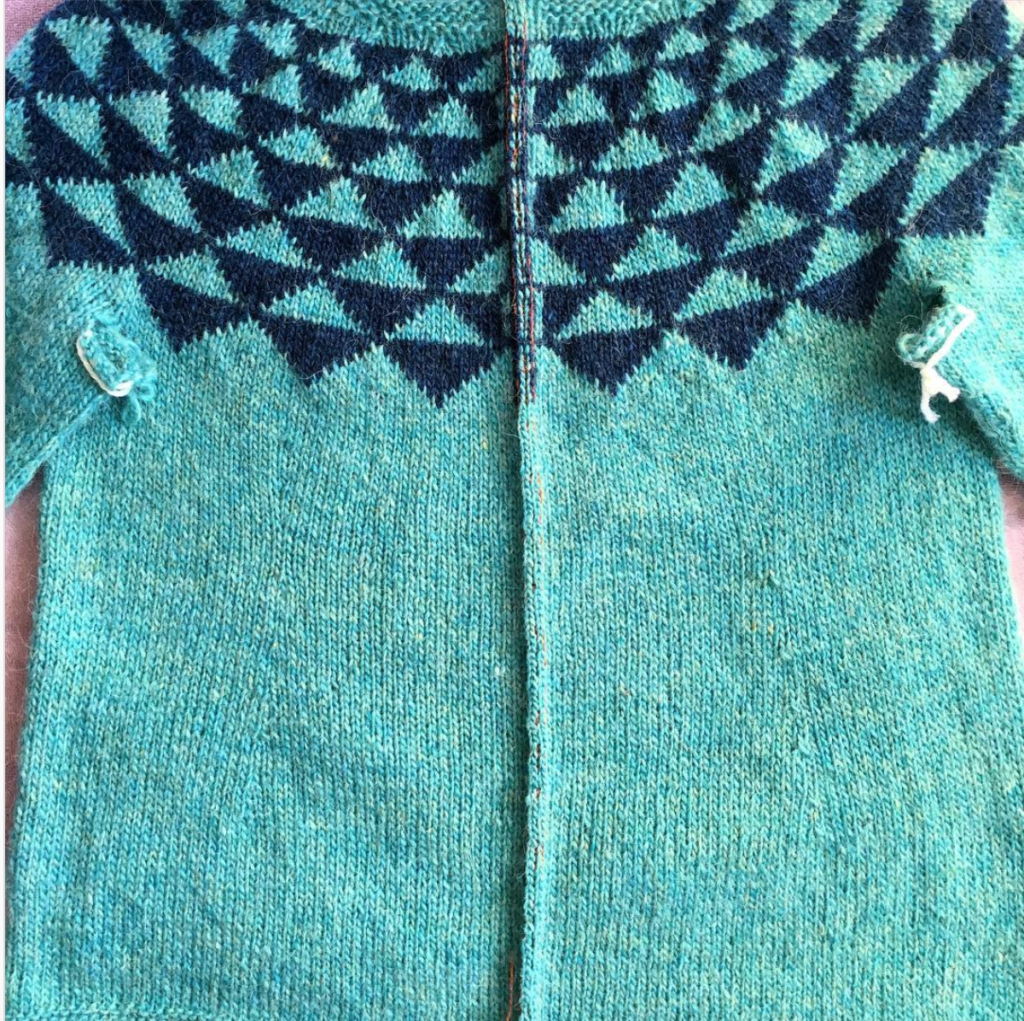
This sweater has special steek stitches that show where to cut, but your sweater doesn’t need to.
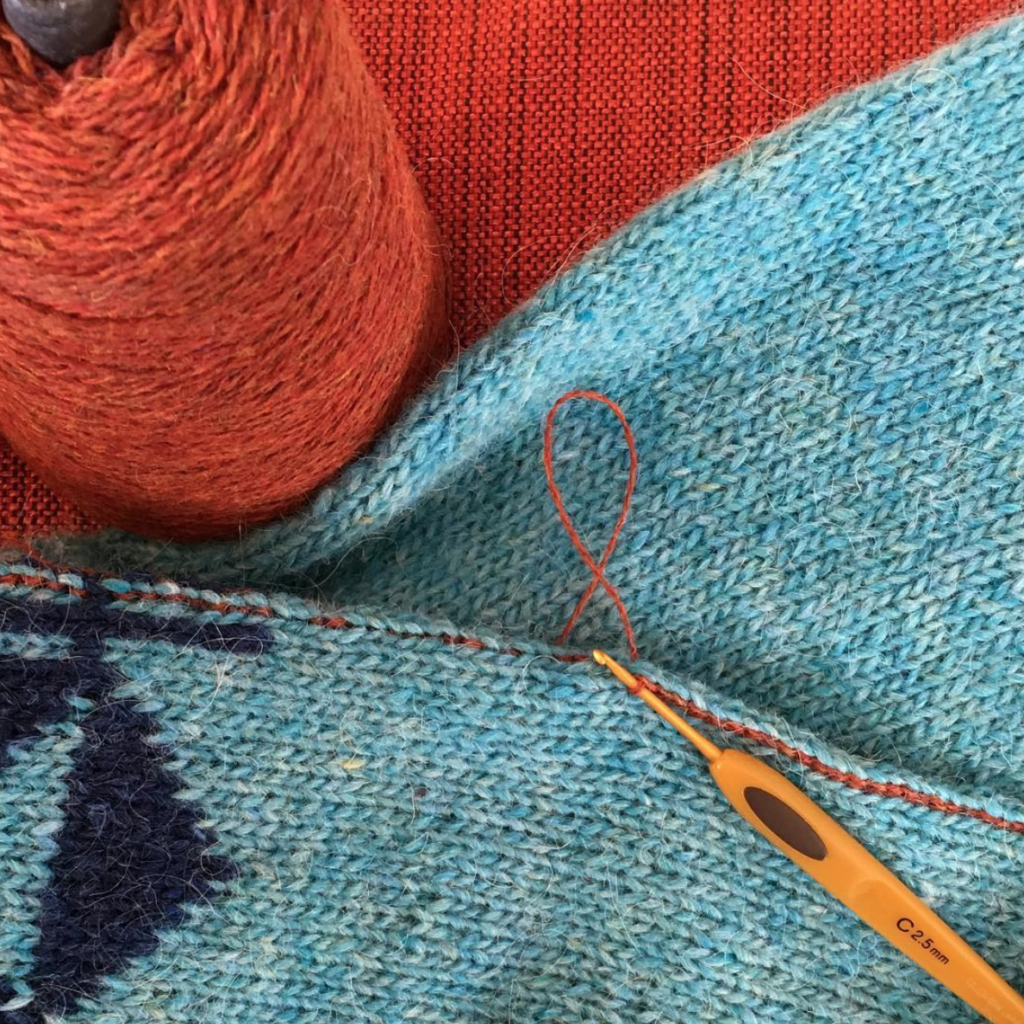
A crocheted steek is my favorite. Eunny Jang has great info in steeks. I did a 5 stitch steek on this sweater and am using sticky, woolly fingering weight yarn and a skinny hook to secure it with a crocheted reinforcement.
And on to button bands I go. I reinforce my steek before adding button bands (so much easier without button band flaps flapping around) but I don’t cut it. I don’t know where I got this idea, but it certainly avoids straining the steek while picking up stitches and knitting, and heaven forfend, ripping and reknitting.
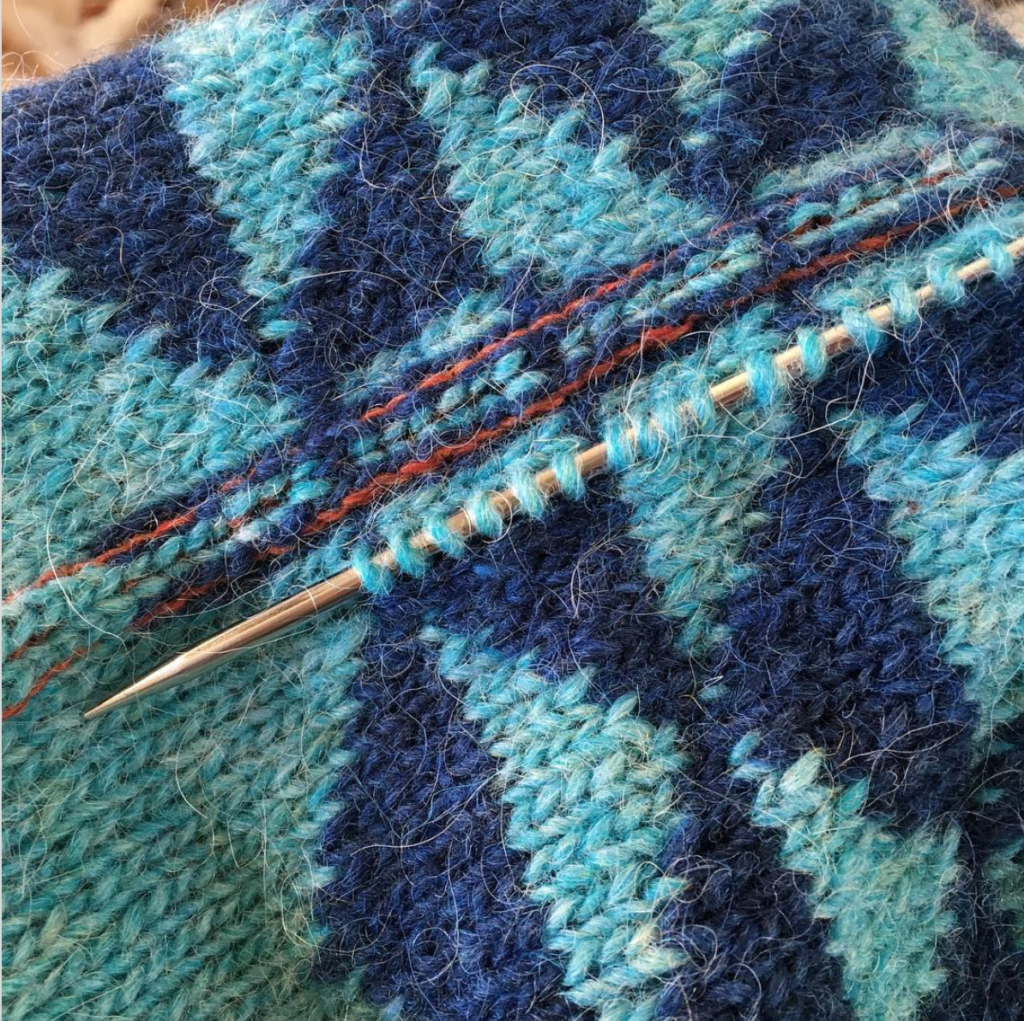
In the past, as shown here, I held the yarn inside the sweater and pick it up from the outside. I’d usually start the first few stitches with a crochet hook and transfer them to my needle, then do the rest with the needle. Keep the hook handy, in case you run into a tough spot. If you have a Tunisian hook, you’re living on easy street.

In my most recent cardigan, not shown, I picked up stitches from the front under one stitch and back out to pick up the yarn from the front, much like the crocheted steek reinforcement I did. That worked well and created a nice turned-under steek facing once the steek was cut. Recommended!

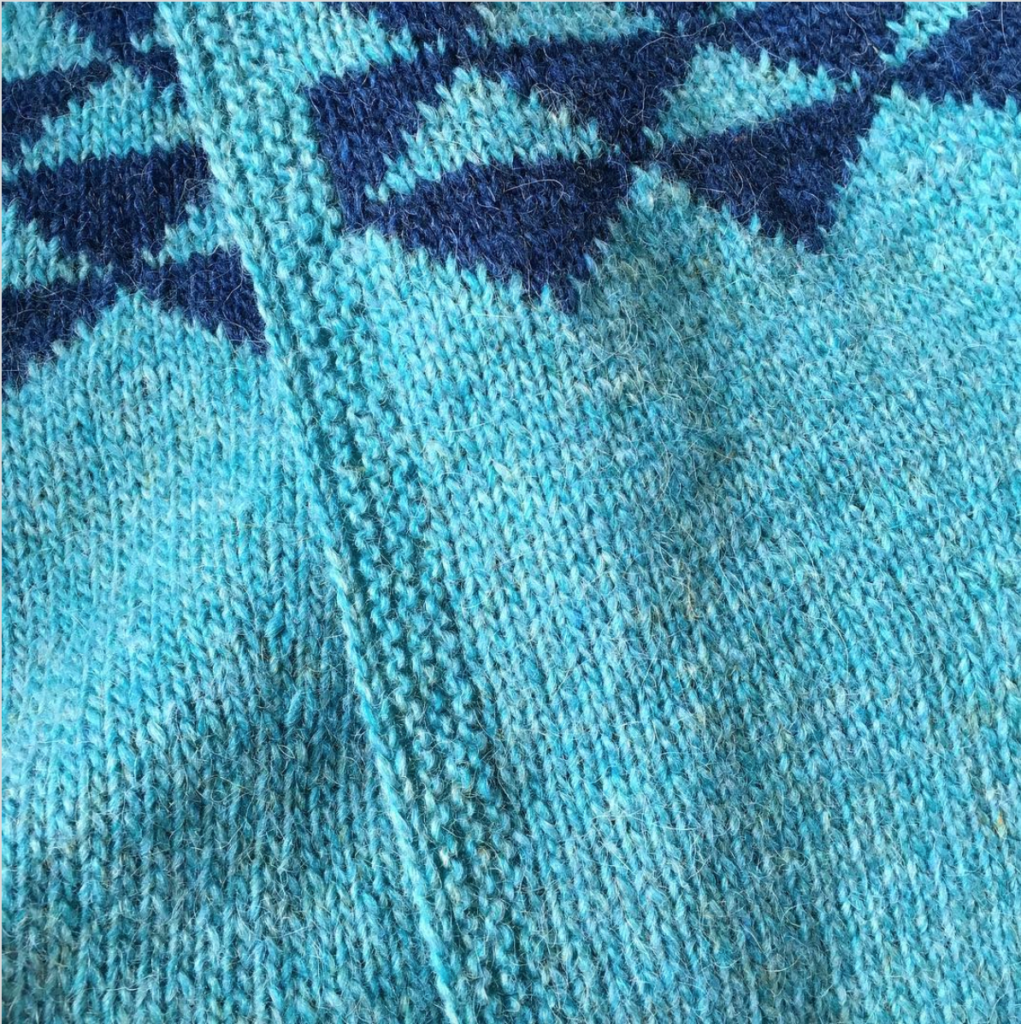
After the steek is cut (refer to Eunny’s video linked above for a demonstration), admire how nice your bottom band looks.
You can see how tidy that steek is inside.
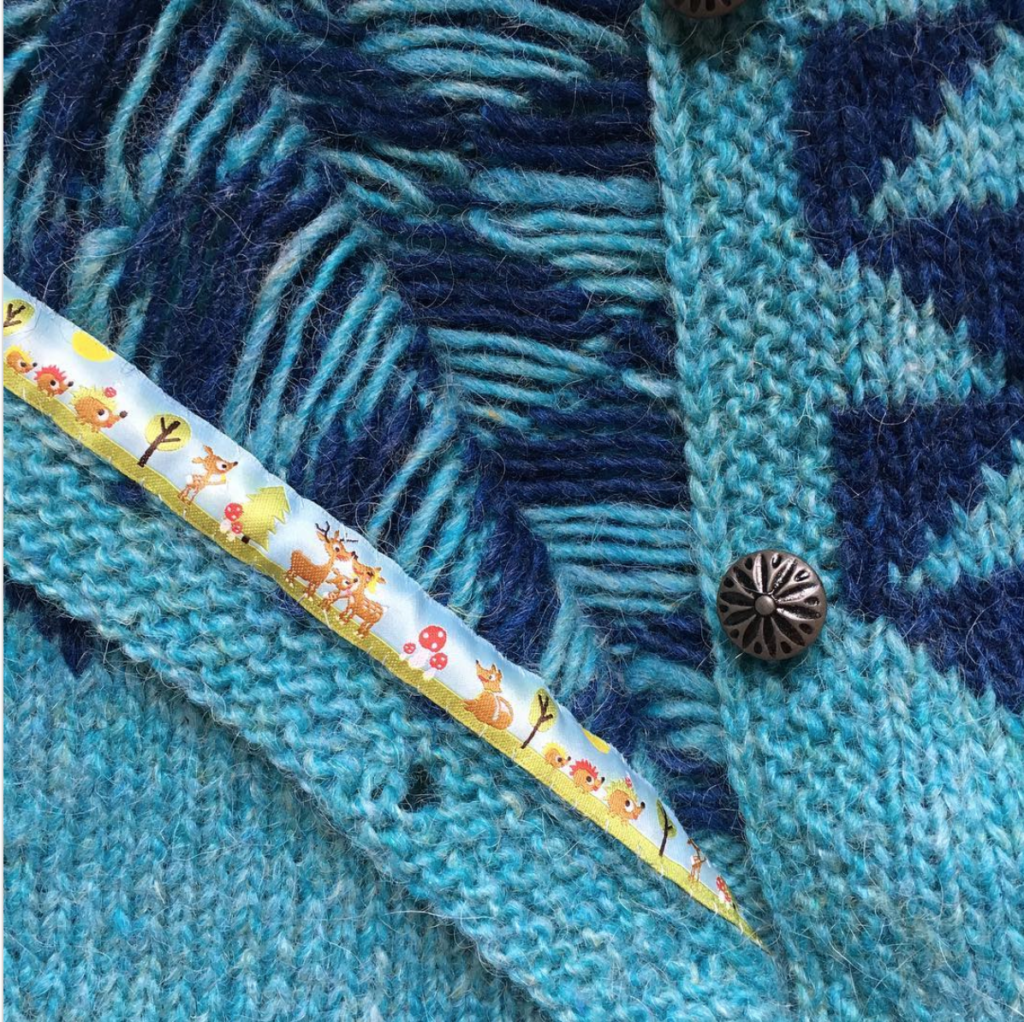
You can leave that steek as is, or cover it with ribbon whip-stitched over the cut edge, which I usually do because I love some secret prettiness.
1 Comment